A Beginner’s Guide on How to Paint a Room Like a Pro
Key Takeaways: How to Paint a Room
To paint a room like a professional, start by thoroughly cleaning and prepping your walls, then apply a high-quality primer. Use the “cutting in” technique for edges and corners before filling in the large sections with a roller using overlapping “W” or “M” shaped strokes for a seamless finish.
The Ultimate Guide on How to Paint a Room Like a Pro
Learning how to paint a room is one of the most rewarding DIY projects you can tackle because it offers the biggest visual impact for the lowest financial investment. Whether you are tired of that dated beige in the guest room or want to create a moody sanctuary in your master suite, a fresh coat of paint is your best friend. But if you’ve ever walked into a hardware store and felt paralyzed by the wall of brushes, rollers, and five hundred shades of “off-white,” don’t worry. This guide will walk you through the process from the first piece of tape to the final reveal.
Getting Your Space Ready for Success
Before you even pop the lid on a paint can, you have to deal with the prep work. This is the part everyone wants to skip, but it’s actually the secret to a high-end finish. If you paint over dust, cobwebs, or oily fingerprints, the paint won’t adhere properly and might peel off within a year.
Start by clearing the room. If you can’t move the heavy furniture out, push it to the center and cover it with plastic drop cloths. Remove all switch plates, outlet covers, and window treatments. Trust me, trying to paint around a light switch is a recipe for a messy look.
Essential Supplies for Your Project
To get the job done right, you need the right tools. Skimping on brushes usually leads to shed bristles stuck in your beautiful new wall color.
- High-quality angled brush: For “cutting in” around trim and ceilings.
- Paint roller and covers: A 3/8-inch nap is usually best for standard interior walls.
- Extension pole: Your back will thank you when you’re reaching for the top of the wall.
- Paint tray and liners: Liners make cleanup a breeze.
- Painter’s tape: Stick with a reputable brand like ScotchBlue to prevent bleed-through.
- Drop cloths: Canvas is better than plastic because it isn’t slippery and absorbs spills.
Choosing the Right Paint and Finish
Not all paints are created equal. You have to consider the “sheen,” which is how much light reflects off the surface. Flat or matte finishes are great for hiding imperfections on older walls but are harder to clean. On the flip side, semi-gloss is incredibly durable and easy to wipe down, making it perfect for kitchens and bathrooms, though it shows every tiny bump in the drywall. Most people find that an eggshell or satin finish is the “Goldilocks” choice for living rooms and bedrooms—just enough shine to look polished, but subtle enough to hide flaws.
How to Paint a Room Step-by-Step
Once your floors are covered and your walls are clean, it’s time to get to work. Follow these steps to ensure a uniform, streak-free look.
- Patch and Sand: Inspect the walls for nail holes or cracks. Fill them with spackling compound, let it dry, and sand it smooth. Wipe away the dust with a damp cloth.
- Tape the Edges: Apply painter’s tape along the baseboards, ceiling line, and window frames. Press the edge of the tape down firmly with a putty knife to create a seal.
- Prime the Walls: If you are changing colors drastically (like going from dark blue to light grey) or painting over a glossy surface, a primer is non-negotiable. It provides a “tooth” for the new paint to grab onto.
- Cut In First: Use your angled brush to paint a 2-inch border around the perimeter of the room. This includes the corners, the ceiling line, and around the trim. Doing this first allows you to “roll into” the wet paint, which prevents a visible line known as “picture framing.”
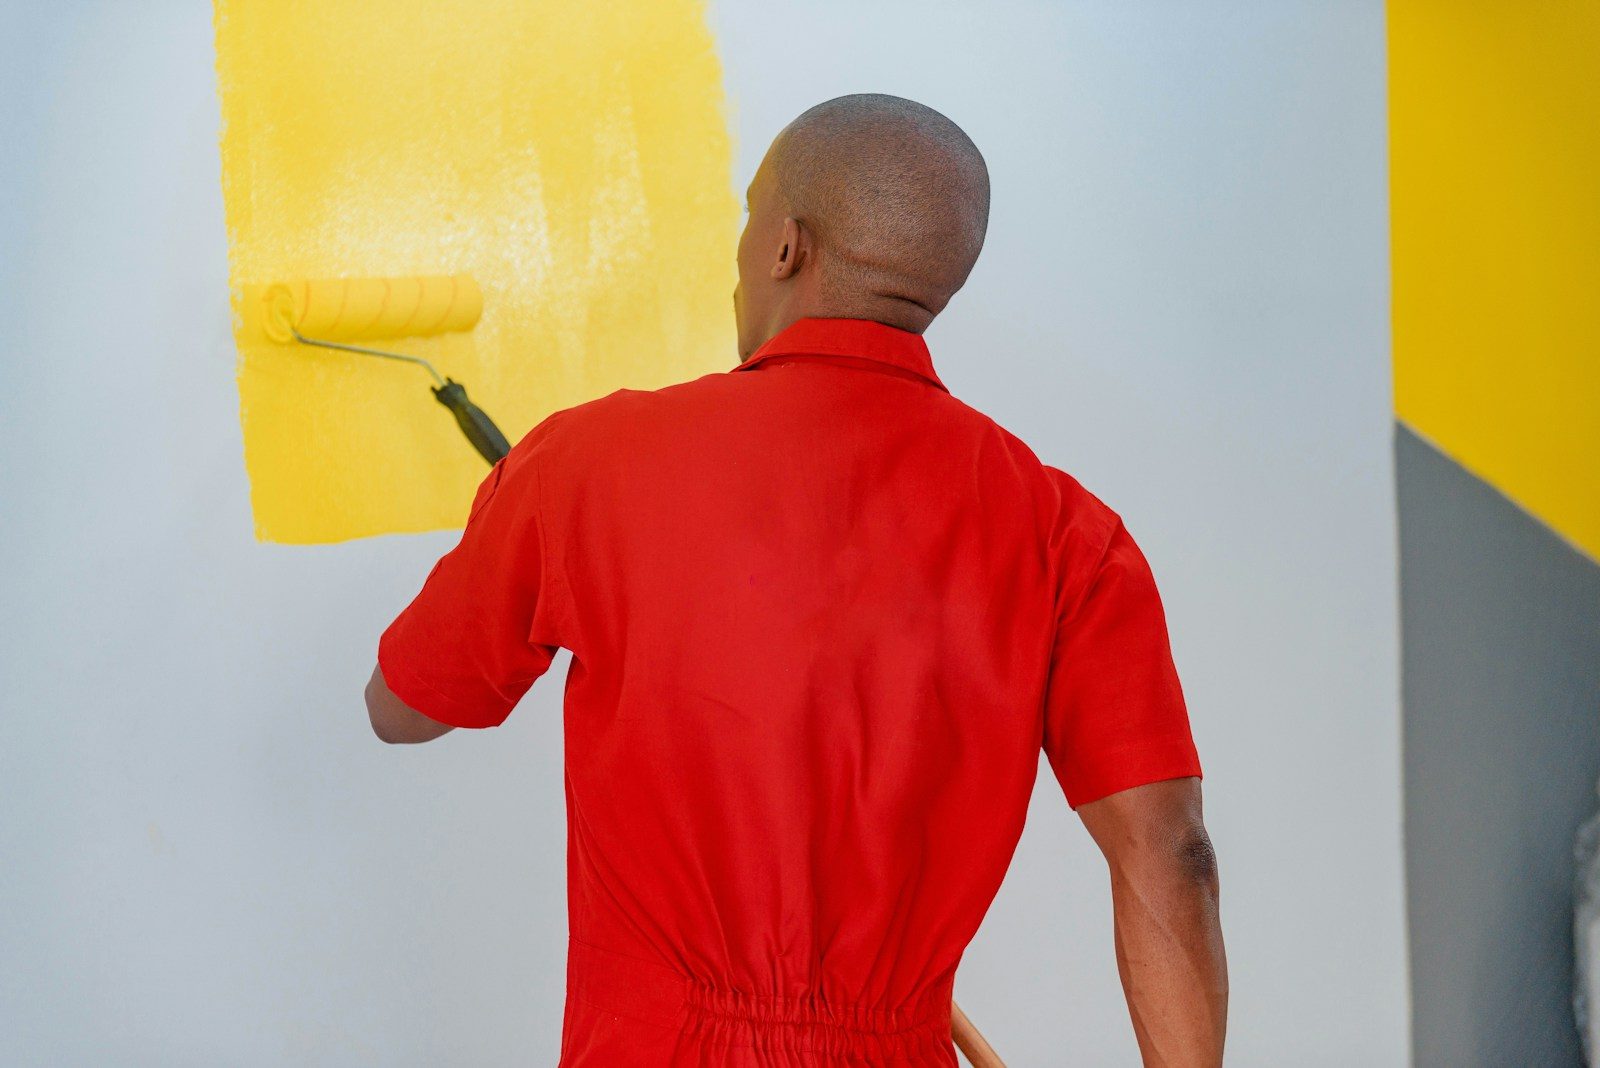
- Roll the Walls: Dip your roller into the tray, but don’t soak it. Use a “W” or “M” pattern to distribute the paint across a 3-by-3-foot section. Then, go back over that section with vertical strokes to even it out.
- Second Coat: Most DIY projects require two coats. Wait for the first coat to dry completely—usually 2 to 4 hours depending on humidity—before starting the second.
- Remove Tape: Don’t wait for the paint to be bone-dry to pull the tape. Remove it while the paint is slightly tacky to prevent the tape from pulling chunks of the new finish off the wall.
Common Mistakes When Learning How to Paint a Room
Even the most enthusiastic DIYers fall into some common traps. One of the biggest errors is “over-working” the paint. Once you’ve rolled a section, leave it alone. If you keep going over it as it starts to dry, you’ll create textures and streaks.
Another mistake is forgetting to “box” your paint. If you bought three separate gallons of the same color, there might be a tiny, almost invisible variation in the tint between cans. Professional painters pour all the cans into one large five-gallon bucket and stir them together. This ensures the color is perfectly consistent throughout the entire room.
Comparison: Professional vs. DIY Painting
| Feature | DIY Approach | Professional Hire |
| Cost | Low (Materials only) | High (Labor + Materials) |
| Time | 1-3 days | 1 day |
| Equipment | Must purchase or rent | Included |
| Finish Quality | Varies by skill | Usually flawless |
| Prep Work | You do it all | Included in service |
Why Prep Work Matters According to the Pros
According to the experts at Sherwin-Williams, the longevity of your paint job depends almost entirely on the surface preparation. They recommend cleaning walls with a mild detergent if there is any visible grime, as even a thin layer of dust can prevent the chemical bond between the paint and the drywall.
Pros and Cons of Painting Your Own Space
Pros
- Saves Money: You can save hundreds or even thousands of dollars in labor costs.
- Creative Control: You can experiment with different samples and take your time deciding on the exact shade.
- Sense of Accomplishment: There is a unique satisfaction in looking at a beautiful room and knowing you did it yourself.
Cons
- Physical Labor: It is exhausting work that involves a lot of reaching, bending, and ladder-climbing.
- Time Consuming: What takes a pro four hours might take a beginner a whole weekend.
- Cleanup: Dealing with brushes, trays, and accidental spills is part of the process.

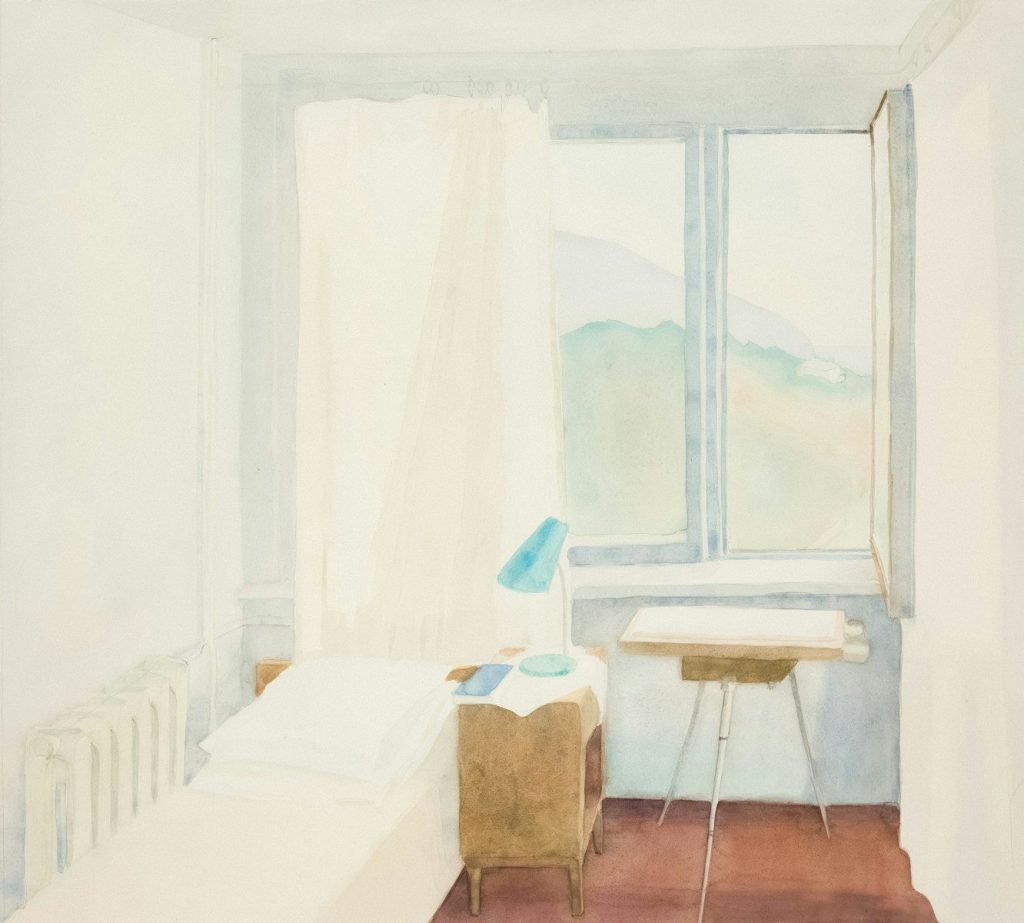
Practical Examples of Color Impact
Consider a small, dark bedroom. If you paint it a deep charcoal grey with a matte finish, it can feel like a cozy, sophisticated “jewelry box.” However, if you use a bright white with a satin finish, the room will bounce whatever natural light is available, making the space feel much larger and airier. Knowing how to paint a room isn’t just about the technique; it’s about understanding how light and color interact with your specific architecture.
Maintenance Tips for Your New Walls
Once the job is finished, you want it to last. If you have kids or pets, keep a small mason jar filled with your leftover paint. Label it with the room name and date. If a chair scuffs the wall or a toy leaves a mark, you can do a quick “spot touch-up” with a small foam brush rather than repainting the entire wall.
Frequently Asked Questions
How long does it take for a room to dry?
Most latex paints are dry to the touch in about an hour, but you should wait at least 4 hours before applying a second coat. It takes about 30 days for paint to “cure” fully, so avoid scrubbing the walls or hanging heavy pictures during that first month.
Do I really need two coats?
In almost every case, yes. Even if the coverage looks good after one coat, a second coat ensures the color is rich and even, and it provides a much more durable surface.
Can I paint over wallpaper?
While it is possible, it is generally not recommended. The moisture in the paint can cause the wallpaper glue to loosen, leading to bubbles or peeling. It is always better to remove the wallpaper, wash the walls, and then start the painting process.
What is the best temperature for painting?
Indoor painting is best done when the temperature is between 60 and 80 degrees Fahrenheit. If it is too hot, the paint dries too fast and leaves lap marks. If it is too cold, the paint won’t bond properly.
How do I clean my brushes properly?
If you used water-based (latex) paint, warm soapy water is all you need. Massage the bristles until the water runs clear. For oil-based paints, you will need a chemical solvent like mineral spirits.
Final Thoughts on Your Project
Taking the time to learn how to paint a room is an investment in your home’s value and your own comfort. While the process requires patience and a bit of elbow grease, the transformation is worth every minute. Once you see the crisp lines and the vibrant new color, you’ll likely find yourself looking at every other room in the house, wondering which one is next for a makeover.