Pro Secrets: How to Fix Uneven Paint and Get a Flawless Finish
Key Takeaways: How to Fix Uneven Paint
To fix uneven paint, identify if the issue is due to “flashing” (shiny patches), visible brush strokes, or “lap marks.” For minor texture issues, sand the area smooth with 220-grit sandpaper, wipe away dust, and apply a high-quality primer before recoating. For color inconsistency, a full edge-to-edge coat using the “wet edge” technique is usually the only way to ensure a seamless finish.
The Secret to Fixing Uneven Paint and Saving Your DIY Project
Learning how to fix uneven paint is a rite of passage for almost every homeowner who has ever picked up a roller. You step back, expecting to see a flawless, velvety accent wall, but instead, you see streaks, shiny spots, or areas where the color looks just a shade off. It’s frustrating, but it’s rarely a disaster that requires stripping the walls down to the studs.
Most paint failures happen because of physics—specifically, how light bounces off different textures and how moisture leaves the paint film. Whether you’re dealing with “flashing” (where some spots look glossier than others) or “ropiness” (heavy brush textures), the solutions are straightforward once you understand what went wrong.
Why Your Paint Looks Splotchy
Before you grab the sandpaper, you need to diagnose the culprit. Painting is as much about chemistry as it is about aesthetics. If the wall wasn’t sealed properly, the drywall might be “drinking” the paint at different rates, leading to an uneven sheen.
According to experts at Sherwin-Williams, common issues like “lap marks” occur when you paint over a section that has already started to dry. This creates a double layer of pigment and binder in those specific spots, making them appear darker or more textured than the rest of the surface.
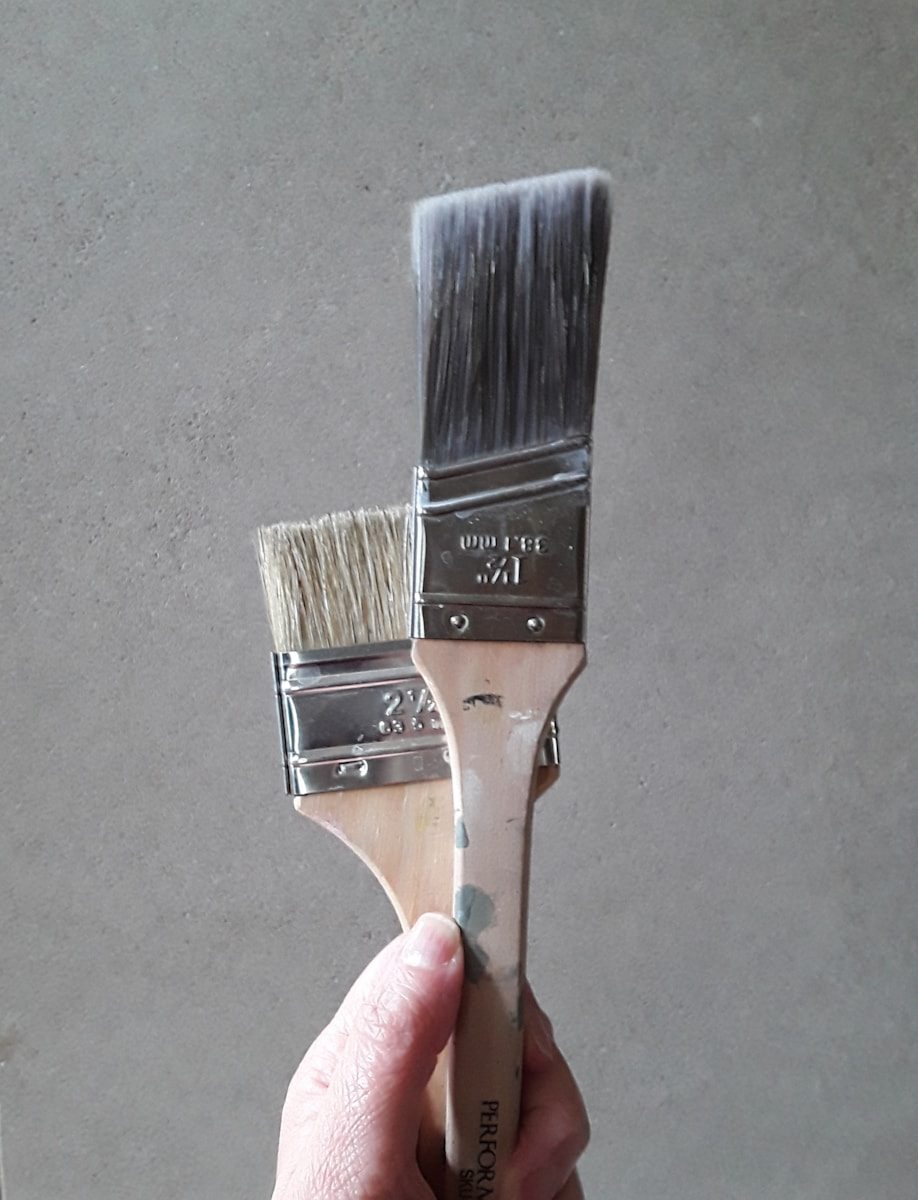
Essential Tools for the Repair
You don’t need a professional crew, but you do need the right gear. Using a cheap roller cover is often the reason people have to learn how to fix uneven paint in the first place.
- Sandpaper: 220-grit or a fine-grit sanding sponge.
- Tack Cloth: To remove every spec of dust after sanding.
- High-Quality Primer: Look for a “high-hide” or “sealing” primer.
- Microfiber Roller Sleeves: These hold more paint and release it more evenly than foam or polyester.
- Paint Extender: A professional secret that slows down drying time.
How to Fix Uneven Paint: A Step-by-Step Recovery
If your wall looks like a topographical map, follow these steps to level the playing field.
- Let it Dry Completely: Never try to fix wet paint. Poking at tacky paint will only create “slugs” or deep gouges in the finish. Wait at least 24 hours.
- Sand the Peaks: Use your 220-grit sandpaper to lightly sand the entire area. You aren’t trying to remove all the paint; you are just leveling the ridges left by the brush or roller.
- Clean the Surface: This is the most skipped step. Use a damp microfiber cloth or a tack cloth. If you leave dust behind, your next coat will look like sandpaper.
- Spot Prime (If Necessary): If you see “flashing” where the paint looks duller in some spots, it means the wall is porous. Apply a coat of primer to seal it.
- Re-Paint Wall to Wall: Do not just “patch” the middle of the wall. To get a professional finish, you must paint the entire surface from one corner to the other.
The “Wet Edge” Technique
The most effective way to avoid the need to fix uneven paint in the future is mastering the wet edge. This means you should always be rolling your fresh paint into paint that is still wet.
If you paint a border around the room (cutting in) and let it dry before rolling the main walls, you’ll get a “picture frame” effect. Instead, try to cut in one wall at a time and roll it immediately while the edges are still damp.
Quick Comparison: Patching vs. Full Recoating
| Feature | Spot Patching | Full Wall Recoat |
| Effort Level | Low | Moderate |
| Visible Seams | High Risk | Low Risk |
| Time Investment | 30 Minutes | 2-4 Hours |
| Sheen Consistency | Often Poor | Excellent |
Common Mistakes That Lead to Streaks
One of the biggest reasons people search for how to fix uneven paint is “dry rolling.” This happens when you try to squeeze every last drop of paint out of the roller. When the roller is dry, it actually lifts paint off the wall instead of depositing it.
As noted by the Painting and Decorating Contractors of America (PCA), maintaining a consistent “mil thickness” (the thickness of the wet paint) is vital. If one part of the wall has 4 mils of paint and another has 2, the light will reflect differently, and it will look uneven even if the color is technically the same.
Pros and Cons of Using Paint Extenders
Pros
- Extended Work Time: Gives you more time to fix drips before they set.
- Levels Better: Helps the paint “flow out” so brush marks disappear.
- Easier in Heat: Essential if you are painting in a dry or hot climate.
Cons
- Longer Dry Times: You’ll have to wait longer before hanging pictures.
- Thinning: If you add too much, you might reduce the “hide” (coverage) of the paint.
Practical Examples of Fixing Specific Issues
The “Flashing” Problem
- The Scenario: You painted your living room in an Eggshell finish. From the side, you see shiny patches.
- The Fix: The wall is absorbing the binder unevenly. Sand the shiny spots lightly, apply a dedicated sealer/primer, and then apply one final coat of paint over the entire wall.
The “Drip” Problem
- The Scenario: You noticed a dried run or drip near the baseboard.
- The Fix: Use a razor blade to carefully shave off the top of the drip. Sand it flat with 220-grit sandpaper until you can’t feel the edge with your fingernail. Prime and repaint.
[Image showing a person using a sanding sponge to level a dried paint drip on a wall]
Maintaining the Right Environment
Temperature and humidity play huge roles in your finish. If it’s too humid, the paint won’t dry. If it’s too dry, the paint flashes off too fast. Aim for a “Goldilocks” zone of about 50% humidity and 70 degrees Fahrenheit. If you are working in an area with a lot of airflow (like under an AC vent), turn it off while painting to prevent the paint from skinning over too quickly.
FAQ
Can I just put a second coat over uneven paint?
Usually, yes. However, if the unevenness is caused by texture (like thick brush strokes), a second coat will actually highlight the problem rather than hide it. Always sand the texture flat before adding more paint.
Why does my paint look darker in the corners?
This is known as “picture framing.” It happens when the paint applied with a brush (cutting in) is thicker or dried at a different rate than the paint applied with a roller. To fix this, roll as close to the corners as possible while the cut-in paint is still wet.
Does the quality of paint really matter for an even finish?
Absolutely. Cheaper paints have more water and less “solids” (the stuff that stays on the wall). High-quality paints use better resins that level out naturally, significantly reducing the chances of streaks.
How many coats are usually needed for an even look?
For most colors, two coats are the standard. If you are using a very vibrant color (like red or deep blue), you might need three or even a tinted primer to achieve total uniformity.
How do I fix lap marks on a ceiling?
Ceilings are tricky because of the light. Use a flat paint, which hides imperfections better than satin. Use a long extension pole so you can make long, continuous strokes from one side of the room to the other without stopping.
Moving Forward
Fixing a botched paint job is mostly about patience and prep work. If you take the time to sand the surface smooth and commit to one final, continuous coat, your walls will look like they were done by a professional.